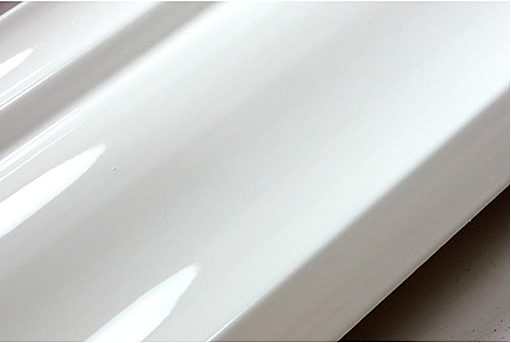
This is probably one of the most asked question I receive from DIY painters so I am going to teach you some simple tips that will leave your Doors and Trim looking like a professional sprayed them

How to Brush Doors & Trim without Brush Strokes
This is probably one of the most asked question I receive from DIY painters so I am going to teach you some simple tips that will leave your Doors and Trim looking like a professional sprayed them! If you have a short attention span you can skip down to the "How To Steps" section and avoid all the nerdy paint talk. ;)
I want to first be honest and say nothing compares to the glass like quality a great spray job can offer on wood work. I personally never brush trim when doing new construction and if it is feasible I will usually spray trim in remodels also.
With that being said there are some things one can do to get a beautifully smooth finish without the expensive equipment and skills needed to use a professional spray rig.
Historically to achieve a silky smooth finish on wood work using a brush or roller you would be limited to using an Alkyd Based Paint (Oil Base).
If you have spent any time in a paint store in the last 10 years you probably have noticed the shift away from oil based paints. This is due to new technology and stricter EPA standards. This has caused most paint manufacturers to shift towards Water Based Low V.O.C. (volatile organic compound) materials and away from solvent based paints or what you call oil based paint.
The reason oil based paints achieve a silky smooth finish much easier than water based paints is due to their difference in leveling properties and open time (dry time).
This does not mean that you should go straight to your paint store and ask for an oil based trim paint. The negatives out way the positive for the average DIY guy or gal.
Oil based paint is more difficult to apply via brush due to its dragging properties. By dragging, I mean it will feel like your brush is sticking to the surface and acting as if it is drying while you are laying your brush strokes down. You have to be quick, constantly keep your brush loaded, make long even brush strokes and know when to let it settle on its own. It is very easy to get caught trying to make this stuff look perfect upon brushing to the point that you have agitated the product too long and it is past the point of leveling out.
Water based paint on the other hand is very easy to layout and will glide off your brush without the (drag) effect oil based paint possesses.
The caveat to water based paint is that it will not have the same great leveling properties as an oil based paint. The open times are a lot shorter now due to the Low V.O.C. paints most manufacturers are producing.
Now that you have made your way through all the Boring paint jargon most of you Could careless to hear about, here are some tips & tricks to make your brush work look like a pro!
Step #1 : Use a latex paint extender.
I prefer M1 latex paint additive and extender.
I also know painters that choose to use Floetrol Latex paint additive and extender.
Which ever you choose just make sure that the bottle is for LATEX BASED paints and not OIL BASED paints! We are using water based paints also called latex based paints.
These products are awesome at thinning thick latex paints to improve their leveling, flow and eliminate brush & roller marks. They do this by extending the open time (dry time) of the paint allowing it to level out on the surface.
Step #2 : Use a Soft Bristled Brush.
Using a soft bristled brush makes it easier to get great coverage applying a lighter pressure and this helps reduce brush marks even further. I prefer to use a block brush made by Purdy with white china bristles. This brush is awesome for laying down smooth finishes but don't ruin it by slapping paint on you rough exterior with it!
Now most people are going to argue that you should use an angled brush when painting trim but I'm not most people. I've been doing this a long time and I can cut in a razor sharp line with a block brush just as easy as I can with an angled sash brush. Since I have made it apparent that I am full of myself when it comes to painting I will say as a beginner it might be easier to work with an angled brush if you are needing to cut in trim to a wall. Painting a door? Use the block brush!
Step #3: Brush from one end to the other with light pressure.
Load your paint brush with your latex based paint thinned down to manufacturer specifications listed on whichever Latex Paint Extender you chose. You should only cover about a third of the bristles in paint.
Tip off your paint brush in the can before turning it upside down and holding it to the piece you plan on painting to ensure paint ends up where it is supposed to be and not on your brand new carpet. These first few brush strokes do not need to be delicate, just get the paint on the trim as evenly as possible making sure to cover the area entirely you are working on.
Once you have the area covered, take you brush and start from one end all the way to the other using light pressure to lay down any excess and remove it with your brush. You can make one final pass with very light pressure to tip off any imperfections. The latex paint extender will do the rest!
That's it folks.... 1-2-3 and your doors & trim look like glass! These skills aren't perfected over night but with a little practice you can make your wood work look just as good as most professionals.
